
Die perfekte Duftkerze: Schritt für Schritt zu deiner Signatur
Ausgewähltes Thema: Die perfekte Duftkerze herstellen – eine Schritt-für-Schritt-Anleitung. Tauche ein in Praxiswissen, kleine Geschichten und erprobte Tipps, damit deine Kerzen gleichmäßig brennen, wundervoll duften und stilvoll aussehen. Abonniere und kommentiere, wenn du eigene Experimente teilst!
Wachse verstehen: Das Fundament der perfekten Duftkerze
Sojawachs liefert sanften Duftwurf, cremige Oberflächen und eine vegane Basis. Bienenwachs brennt länger, duftet natürlich honigwarm, kann jedoch Düfte überlagern. Mischungen kombinieren Stärken: Stabilität, saubere Verbrennung, bessere Duftbindung. Probiere kleine Testchargen, bevor du dich festlegst, und notiere jedes Ergebnis sorgfältig.
Temperaturen steuern Textur und Duftbindung. Schmilz Sojawachs behutsam, gieße oft zwischen 55–65 °C, halte Gefäße leicht vorgewärmt. Überhitzen schwächt Duftöle, zu kaltes Gießen fördert Sinklöcher. Ein gutes Thermometer ist dein bester Freund, zusammen mit ruhiger Hand und Geduld.
Wähle Lieferanten mit transparenten Datenblättern, stabilen Chargen und klaren Herkunftsnachweisen. Regionaler Bezug hilft, Qualität zu sichern und Wege zu verkürzen. Prüfe Chargenunterschiede, dokumentiere Viskosität, Schmelzpunkt und Farbe. Nachhaltigkeit beginnt bei der Rohstoffwahl – und zeigt sich schließlich in deiner Kerze.
Duftkomposition, die bleibt
Kopf-, Herz- und Basisnoten balancieren
Kopfnoten begrüßen, Herznoten erzählen, Basisnoten bleiben. Ein 30/50/20-Verhältnis ist ein guter Startpunkt. Meine erste Signatur: Bergamotte über Lavendel, getragen von Vanille. Auf dem Wochenmarkt lächelte eine Kundin: „Das riecht wie Urlaub nach Regen.“ Genau so soll es sein.
Duftlast, Flashpoint und Sicherheit
Für Sojawachs sind 6–10 % Duftlast sinnvoll, abhängig vom Öl. Der Flashpoint beschreibt Zündtemperaturen der Dämpfe, nicht Brennbarkeit der Kerze. Beachte Sicherheitsdaten und IFRA-Hinweise, kennzeichne Allergene für den Hausgebrauch, und teste immer in kleinen, kontrollierten Mengen.
Ätherische Öle vs. Duftöle
Ätherische Öle duften naturrein, können jedoch flüchtig oder hitzesensibel sein. Duftöle bieten Konstanz und Komplexität, meist mit besserem Hot Throw. Kombiniere bedacht: Ein Tropfen echter Zeder kann synthetische Basisnoten veredeln – aber nur, wenn Stabilität und Dosierung stimmen.
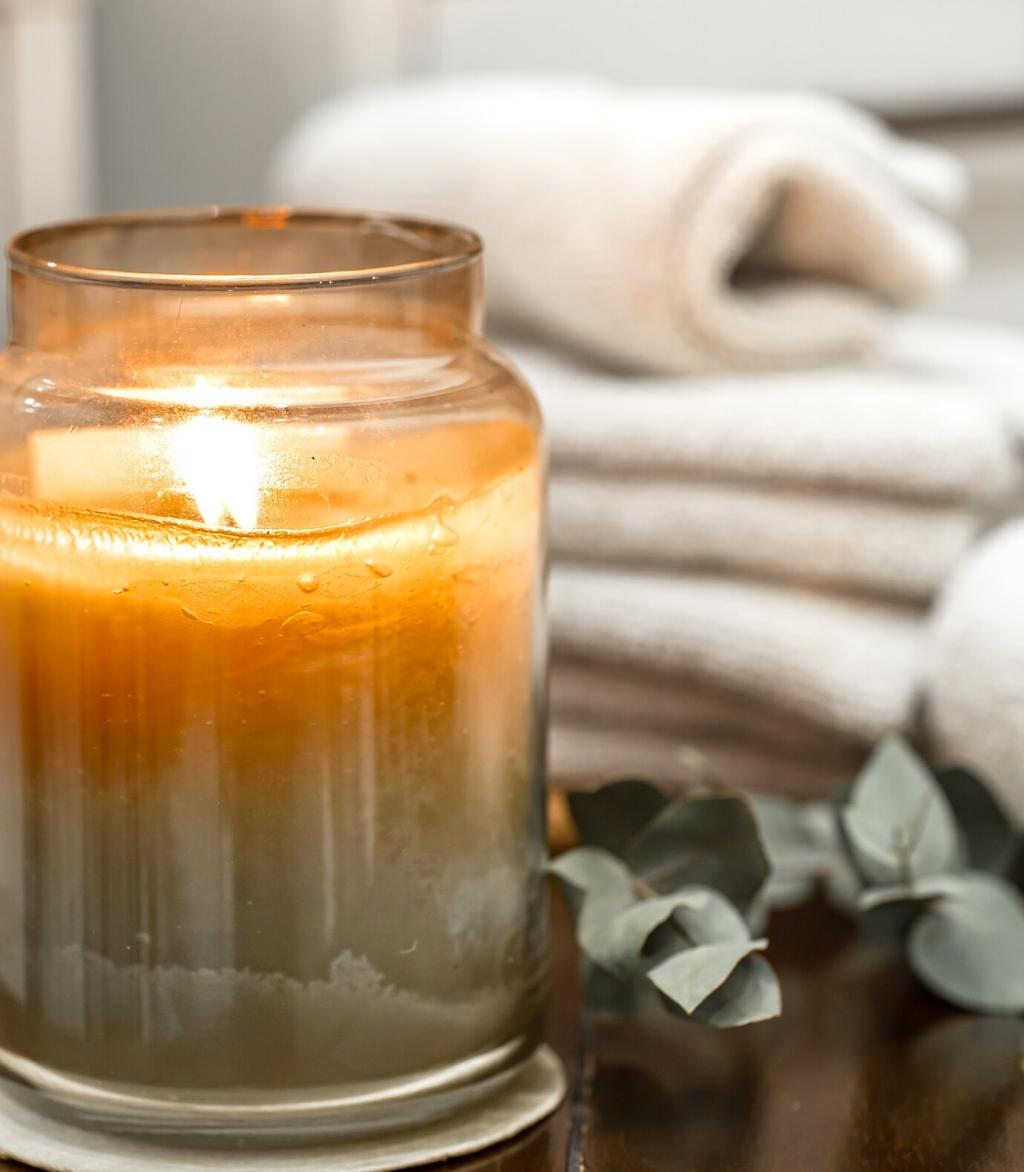
Der richtige Docht und das passende Gefäß
Messe den Innendurchmesser des Gefäßes; der Docht muss in 2–3 Stunden einen vollständigen Schmelzpool erreichen. Zu klein ergibt Tunnelbildung, zu groß rußt. Arbeite mit Wickeltabellen, teste zwei benachbarte Größen, und dokumentiere Flammenhöhe, Pooltiefe und Glaswärme exakt.

Der richtige Docht und das passende Gefäß
Holzdochte knistern gemütlich, brauchen oft etwas mehr Wachsfluss und sorgfältige Trimmung. Baumwolldochte sind berechenbar, vielfältig erhältlich und leicht zu zentrieren. Beide Varianten profitieren von sauberer Fixierung, kurzen Dochtenden und ruhiger Umgebung beim Aushärten.
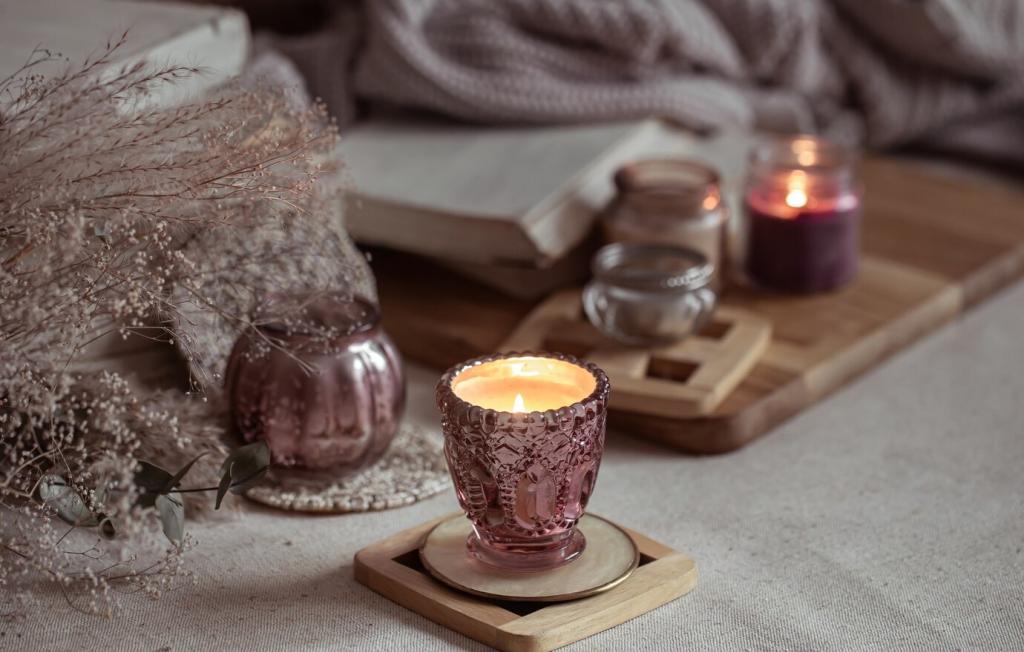
Farbe, Oberfläche und Stil
Flüssigfarben oder Farbstifte behutsam dosieren, denn zu viel kann Duft und Brennverhalten beeinträchtigen. Pastelltöne schmeicheln Sojawachs, satte Farben brauchen Tests. Rühre sorgfältig, prüfe Farbe unter Tageslicht, und notiere Tropfen, Temperatur sowie finalen Farbton für Reproduzierbarkeit.
Farbe, Oberfläche und Stil
Langsames Abkühlen reduziert Frosting bei Sojawachs. Isoliere Gefäße, gieße bei geeigneter Temperatur und glätte vorsichtig mit Heißluft, wenn nötig. Sinklöcher? Fülle nach einer Stunde minimal nach. Kleine Unvollkommenheiten sind charmant, doch strukturiertes Vorgehen liefert konsistente Ergebnisse.
Farbe, Oberfläche und Stil
Ein klares Etikett mit Duftname, Noten und Brennhinweisen wirkt professionell und hilfreich. Deckel schützen den Duft in der Ruhezeit. Dezente Bänder, Prägungen oder ein handgeschriebener Gruß erzählen Persönlichkeit – ohne die Kerzensicherheit aus dem Blick zu verlieren.
Gießprozess: die Praxis Schritt für Schritt
Lege alles bereit: gewogenes Wachs, sauber kalibrierte Waage, Duftöl, Thermometer, Dochtaufkleber, Zentrierhilfen, vorgewärmte Gläser. Räume die Fläche frei, stelle Zugluft ab, und halte ein Notizbuch bereit. Ordnung schenkt Fokus – und erspart dir teure Fehler im heißen Moment.
Testen, Protokollieren, Perfektionieren
Zünde 3–4 Stunden, lösche, kühle vollständig, wiederhole. Miss Flammenhöhe, Pooltiefe, Glaswärme, Rußbildung. Kürze den Docht vor jedem Start. Vergleiche identische Gefäße mit zwei Dochtgrößen. Nur saubere Daten zeigen dir, ob du schrittweise hoch- oder herunterdochten musst.
Meine erste Lavendel-Bergamotte-Kerze war nach zwei Stunden ausverkauft, weil jemand sagte: „Sie riecht wie ein offenes Fenster im Frühling.“ Schreib uns deinen Moment! Solche Augenblicke zeigen, dass sorgfältige Schritte echte Erinnerungen schaffen.
Gemeinschaft, Geschichten und nächste Schritte